Creating Social Media Graphics For Your Camp

So, you’ve got your camp all set and ready to go. But how do you market it? Even if you’ve been doing this a long time, it’s still important to reach out and let more people know you’re there.
And the best way to do that is through social media. Yep. Facebook, Twitter, Instagram, Snapchat and more. For a lot of these platforms, just posting about your camp isn’t enough. Graphics (or visual images) are the best way to garner attention. And you typically get more shares with graphics, so why wouldn’t you want to add that little extra something?
Creating graphics out of thin air isn’t as difficult as it seems. And there are tons of places to get help to make yours stand out and get noticed! Just make sure you follow some simple rules as you create them.
- Don’t use much text in your image (The K.I.S.S. method)
- Use high-quality images. Whether that’s from your own photographs taken during camp, or via stock photography (found at places like bigstockphoto.com and istockphoto.com for a small fee or sometimes free)
- Don’t use the same graphic over and over. Change it up!
- Place a brand and link to your camp registration or website on each and every graphic you create, to help direct people to your site when they come across your graphic. It doesn’t have to be big, or cover the whole graphic. Just make sure it’s somewhere.
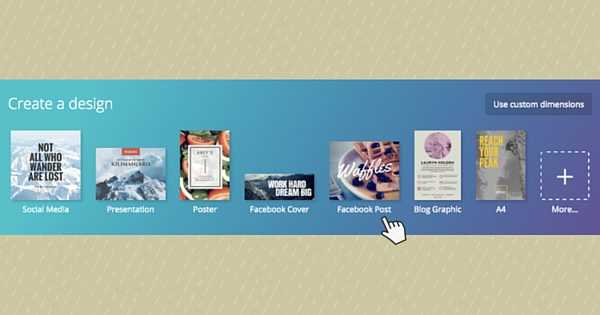
The best way to get started is to work on a platform that already has some templates created for you. Canva.com has loads of templates for every conceivable social media platform. They make it easy to know what size image you’ll need for every option. Picmonkey.com is an easy-to-use platform to help you create simple graphics. Both have images you can use, or upload your own.
And if you’re feeling really bold, you can even post videos. Camp activities, coach tips and advice, etc. Anything you think would be interesting to potential campers and their parents.
Don’t be afraid to give it a try!
